
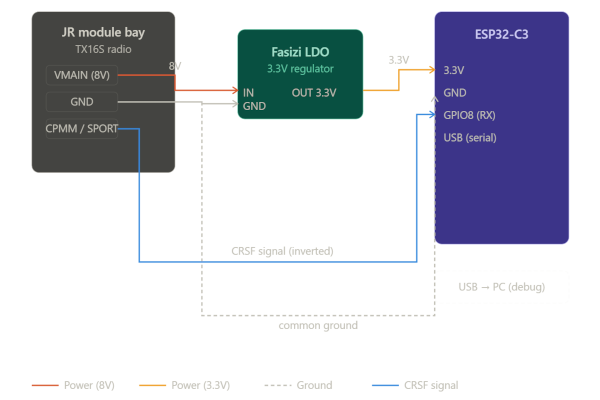
The key points from the diagram:
Follow these steps to load the firmware onto your ESP32-C3 chip. No technical experience is needed.
You will need:
From our website download page, save the firmware file to your computer. It will be named firmware.bin. Make a note of where you saved it.
Open your browser and go to: https://espressif.github.io/esptool-js/
⚠️ Must use Google Chrome or Microsoft Edge. Safari and Firefox are not supported.
Plug your ESP32-C3 into your computer using a USB cable. Use a data cable — some cables only charge and will not work for flashing.
⚠️ If nothing happens when you plug it in, try a different USB cable or a different USB port on your computer.
In the ESP Web Flasher page:
921600⚠️ If no port appears in the list, check that no other program such as Arduino IDE has the port open, then try again.
Once connected you will see a file picker section:
0x0 (the number zero with 0x in front)firmware.bin file you downloadedClick the Program button. A progress bar will appear — this takes about 30 seconds. Do not unplug the USB cable while flashing is in progress.
✅ When complete you will see "Leaving... Hard resetting via RTS pin..." — this means the firmware has been flashed successfully.
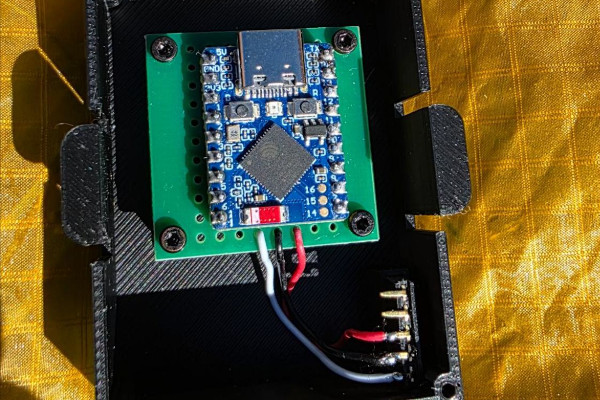
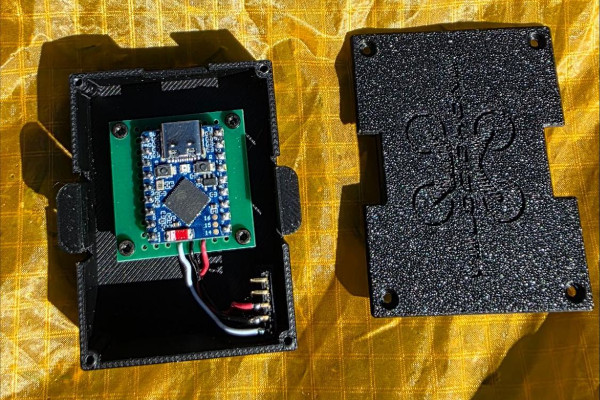
Disconnect the USB cable. Your ESP32-C3 is now ready to be installed in your JR module bay following the circuit diagram in this document.
✅ When powered on your module will automatically advertise as DroneController over Bluetooth and will be ready to use with Velocidrone.
No serial port appears in the list:
Make sure you are using Chrome or Edge, try a different USB cable, and check that no other program has the port open.
Flashing fails or stops:
Unplug and replug the USB cable and try again from Step 4.
Module not detected by Velocidrone after flashing:
Make sure Bluetooth is enabled on your iPhone or iPad and that you have cleared any previously paired DroneController device from your Bluetooth settings.
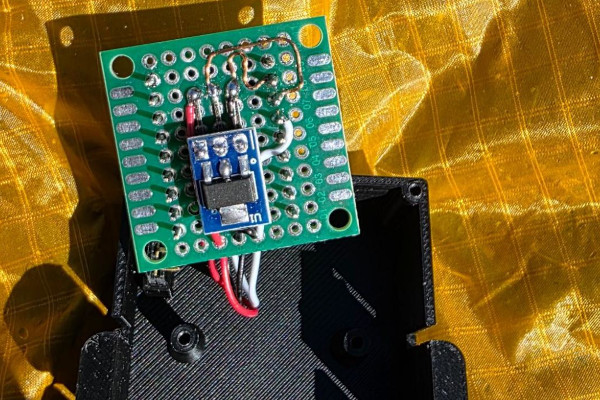
ESP 32-C3
https://www.amazon.co.uk/dp/B0DS23ML1LPerf Board
https://www.amazon.co.uk/dp/B0FZS8YT8S3v Regulator
https://www.amazon.co.uk/dp/B09Z28LTRDPin Headers (Female Socket)
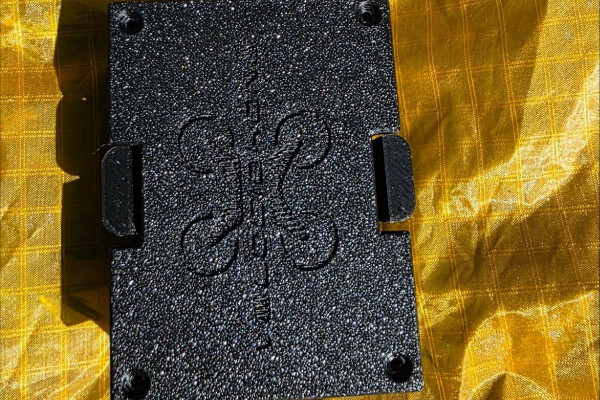
https://www.amazon.co.uk/UMTMedia-Pieces-Female-Socket-Breadboard/dp/B09DSP7H61The download package contains the firmware.bin file needed to flash your ESP32-C3, as well as STL files for 3D printing your module box.